It’s crucial that the transactions in your accounting system match your bank statements 100 percent. Otherwise, how else will you be able to guarantee that your profit reports are accurate? This is where an in-depth (regular) bank reconciliation comes into play within your retail business.
What is a Bank Reconciliation?
When matching bank statements to the transactions shown in your accounting system, you are guaranteeing that every deposit, withdrawal, check, bank payment and more are all accounted for correctly. You are also confirming that your balances on your statement for the particular time period match your accounting system too, ensuring all financial reports are accurate.
This is known as a bank reconciliation, and it’s a crucial step when it comes to retail and accounting.
If you have a large amount of transactions in a given period, then you may find a bank reconciliation does take quite a bit of time to do. But it’s a vital step, and definitely not one to cut corners on.
Bank Reconciliation Checklist
So we’ve put together this handy checklist to help you breeze through your next bank reconciliation:
1. Request an export of your transactions from your bank for the statement period you wish to reconcile.
Some accounting systems will request that your bank statement transactions are provided in a .csv format. You can then import this data into your system, ready for matching off against transactions in a given period. With a system like Brightpearl, there is the opportunity to use this method (we call it Bank Matching). Or, if running a complete Bank Reconciliation in Brightpearl, this step can be skipped as we automatically pull through transactions already in your accounting system for you based on your opening and closing dates.
2. Locate a copy of your previous reconciled statement – you will need to know its closing balance.
If processing your reconciliations manually, this is a vital step so that you can enter the previous period’s closing balance as this period’s opening balance. However, accounting software should allow you to do reconciliations inside your system, so you should find that the balances are pulled automatically from the previous reconciled statement.
3. Take note of any cash deposits in transit as these won’t be included in this period’s reconciliation.
There are occasions within any business where some cash deposits will roll onto a different period for a bank reconciliation. This could happen if cash has been deposited in between statement publication dates. It’s useful to keep a note of these so that you know to look out for them on your next statement.
4. Jot down any outstanding checks waiting to clear as these will need to be reconciled at another time.
It’s very common for checks to take a while to clear, meaning it’s likely these will need to be reconciled in a different period. Jot these down and keep an eye out for them as they should appear on your next statement.
5. Choose a unique statement reference for your reconciliation period (e.g. Bank Name / Month / Year).
Not only is this step necessary so that you know exactly which statement each reconciliation is for, but this is also needed in most accounting systems to avoid any confusion or data corruption.
6. Double check the opening and closing balances are correct in your accounting system.
Before running the bank reconciliation, it’s wise to quickly double check the dates you’ve entered are correct. Your accounting system will pull transactions based on the dates you’ve chosen, so these should match your real-life bank statement.
7. Ensure your credit card reconciliations have negative opening and closing balances as these are debts.
Credit cards can be reconciled in the exact same way as bank accounts. The only difference will be the negative opening and closing balances, as credit cards count as debt.
8. Convert any multicurrency transactions into your base currency.
To ensure you can find the transactions in your system to match them off against your bank statement, foreign currency transactions must be converted to your base currency. This is either a manual process, or your accounting system will do this automatically for you.
9. Remember to include any earlier unreconciled transactions, such as checks that took a while to clear.
These are any transactions that haven’t yet been included in a previous reconciliation, such as cash and check deposits that took a while to clear.
10. Proceed to match all transactions on your bank statement with those in your accounting system.
This is simply the process by which you’re confirming the transactions on your bank statement have been entered (correctly) into your accounting system. Match them off like for like, and you should then be able to close your statement. If there are any issues, use the next few tasks to double check your transactions.
11. If there are any transactions missing from your accounting system – enter them.
It’s possible that a transaction hasn’t yet been entered into your accounting system. Maybe an order hasn’t been invoiced? Or a cash deposit wasn’t recorded at the time. If this happens, simply enter a manual journal into your accounting system or locate the orders that need to be invoiced or paid.
12. If there are any incorrect values in your accounting system, correct these, as per your bank statement.
Errors can always occur, and sometimes even banks themselves will process things incorrectly. The transactions in your system must match your real-life bank statements, so be sure to correct your system when needed.
13. If there are still discrepancies, use the difference in totals to help you locate the source of the problem.
After completing the previous couple of tasks, you should find that there are no more discrepancies. But if there are, use the difference in values as an indicator of what could be the source of the problem. The difference is simply the value that differs between your accounting system and bank statement. It could be that your bank statement doesn’t yet contain a transaction that your accounting system is trying to reconcile, so un-match it and move on.
14. Double check your system’s closing balance matches the closing balance on your bank statement.
As your accounting system is simply replicating what your real-life bank is telling you, the opening and closing balances must match one another. You won’t be able to close the reconciliation without the balances matching.
15. Close the statement… and move on to the next one!
For most accounting systems, this should be a simple click of a button. When you do close the statement, it should feel satisfactory – like checking off an item on your to-do list.
Conclusion
With the help of these 15 tasks, you should fly through your next bank reconciliation, allowing you to spend more time on growing your business – good luck!
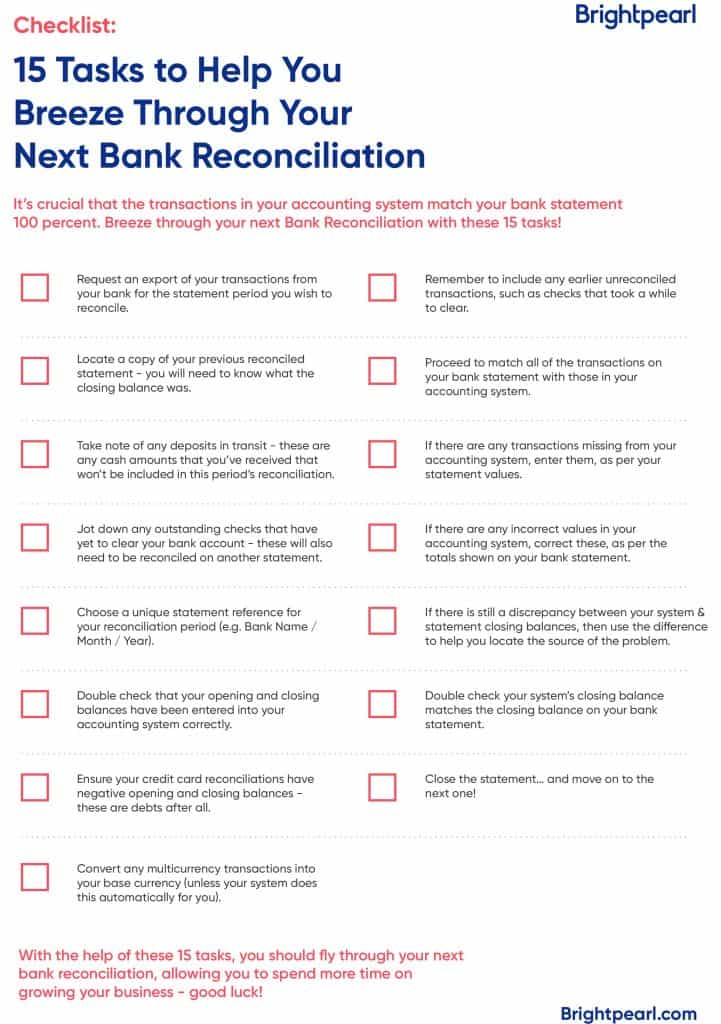
If you’ve found these tasks useful, we’ve put them together in a PDF for you to save or print out if you want to! Here’s a sneak peek:
Want more tips like this? Why not subscribe to the blog?


